Monday, August 29, 2005

Parts arrive and I finally start the cage assembly

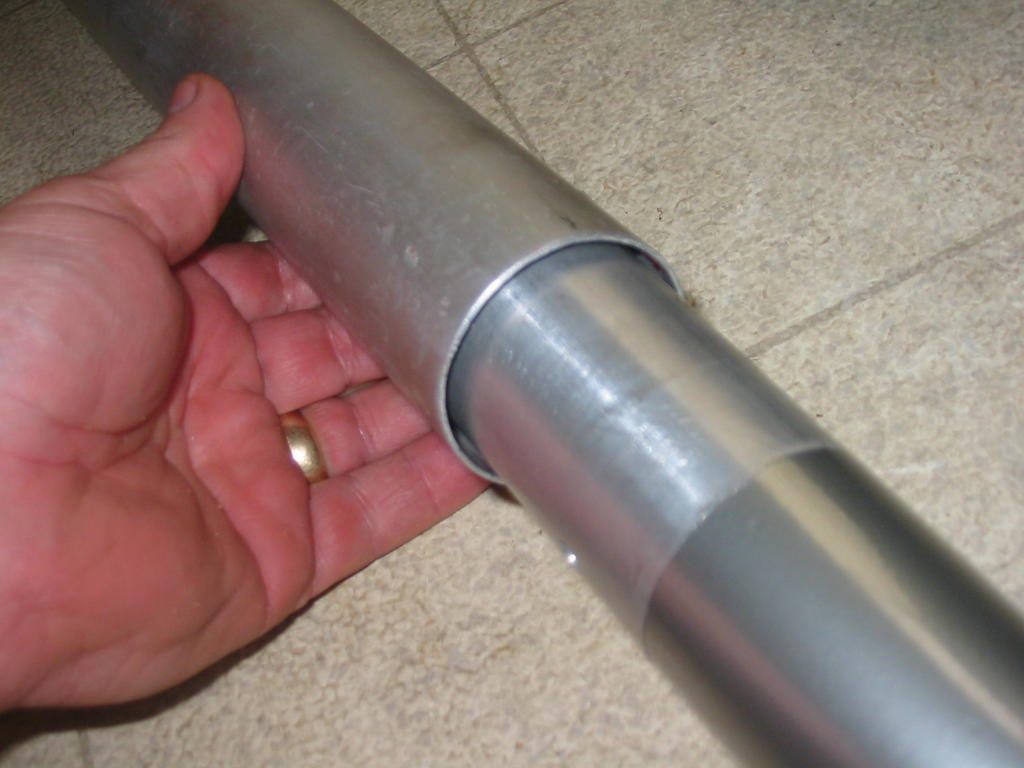
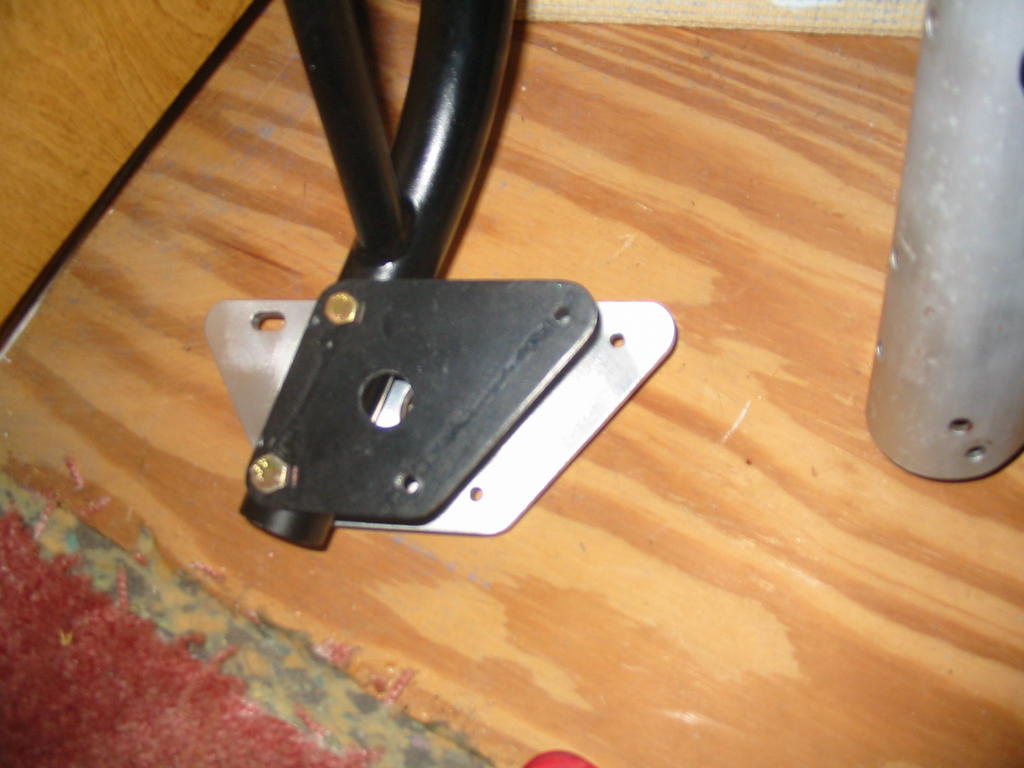
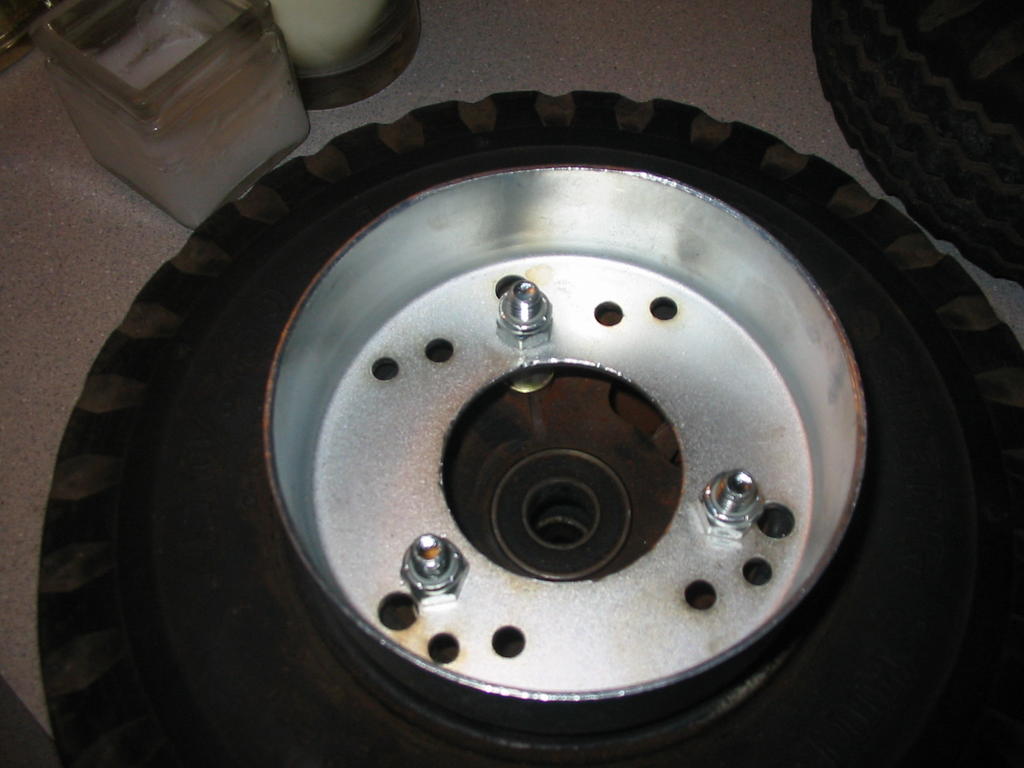
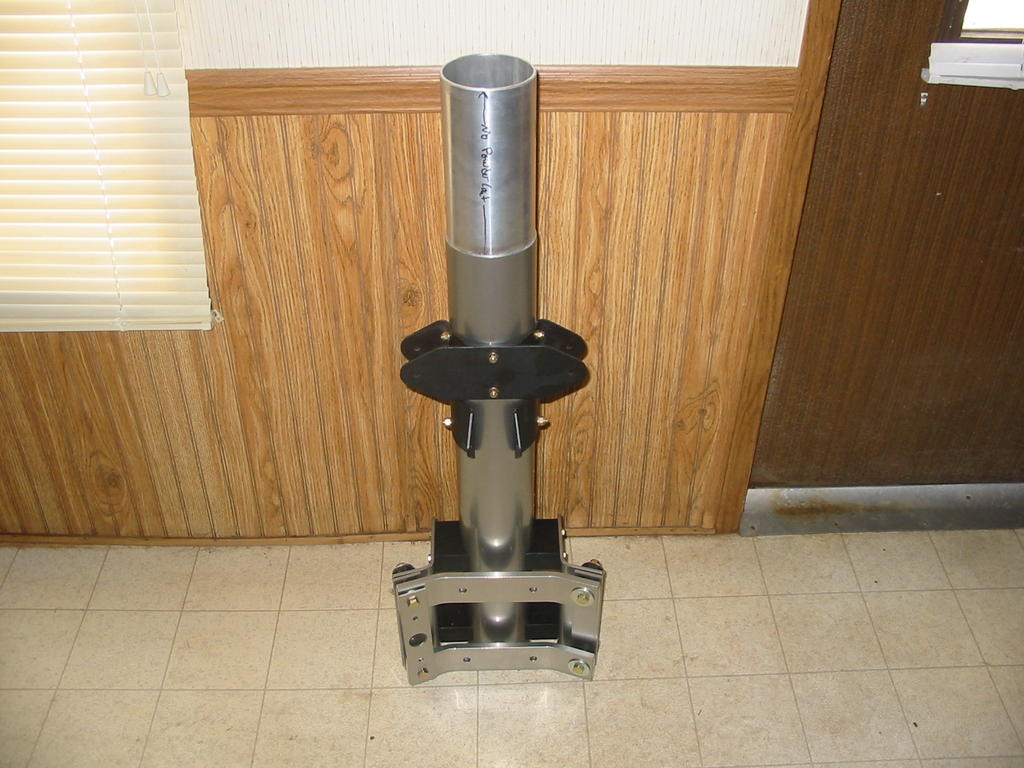
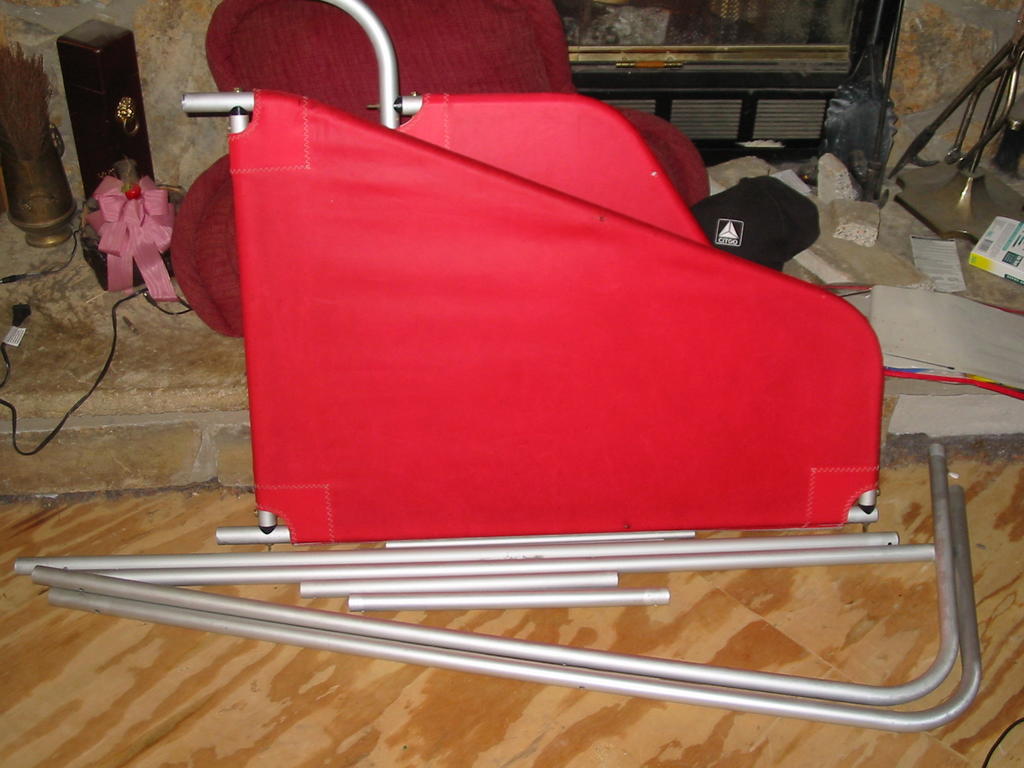
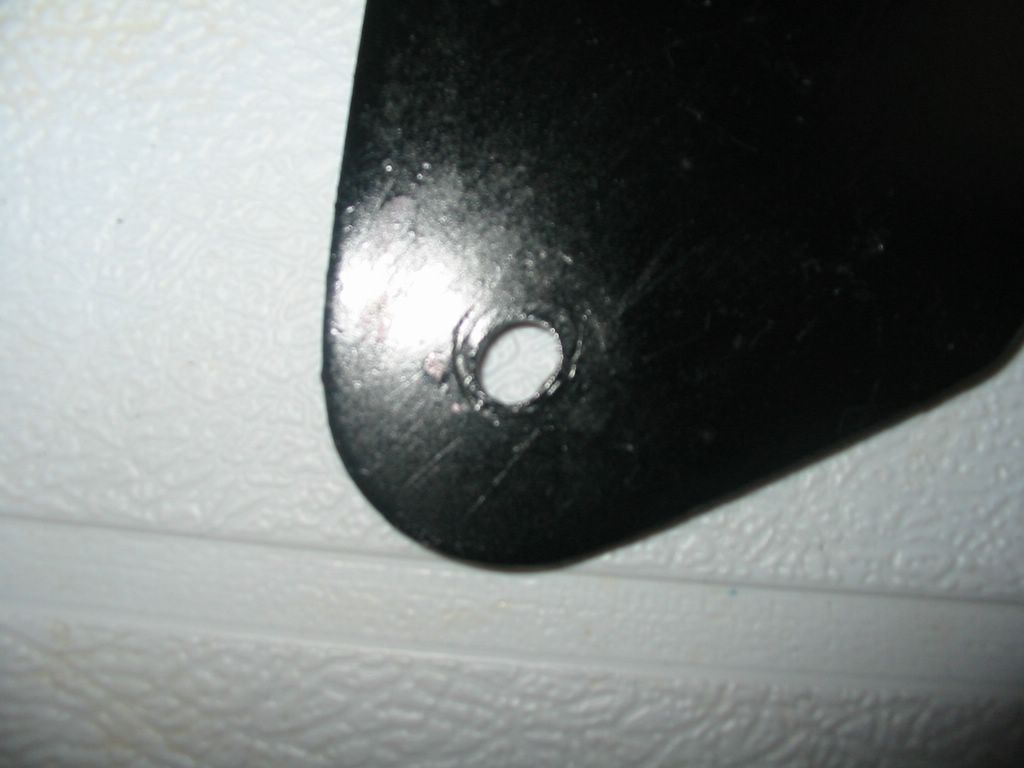
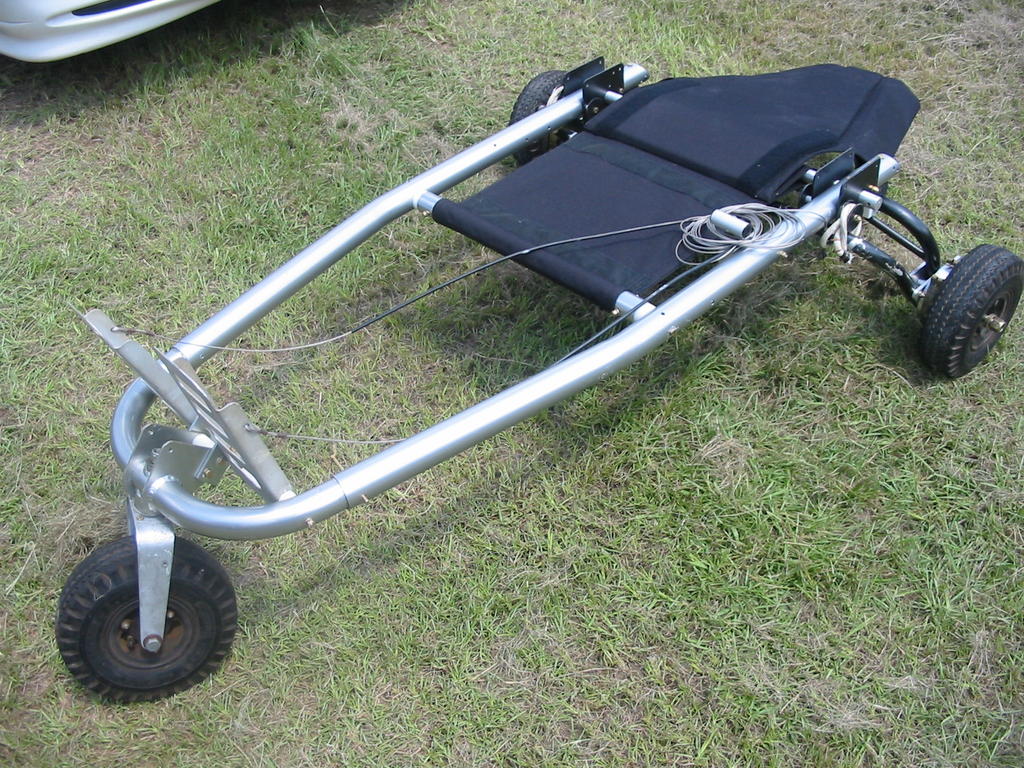
I got the remaining cage rail and inner landing gear parts via UPS on Thursday. I'm working 1/2 days at work for two weeks because of my neck, so I got started on assembly of the cage as soon as I got home. I had several problems with parts aligning and there were small machining burrs on some parts. A file quickly took care of them, but I wish the burrs would have been removed at the factory. I had to do some filing of the holes in the cage rails to allow the solid aluminum rear cage member to fit nicely. Worn cutting tools in manufacture would most likely be the cause of this. Several holes for bolts weren't exactly in the proper location, causing difficulty in attaching the upright attach plates, but with a little bit of forethought and the proper size drill, this was corrected. Once again, I would have preferred everything to fit together perfectly. After several hours work, I completed the assembly of the main cage rails, assembled and installed the rear axle and temporarily installed front fork and wheel. Below is a shot of the cage before attaching any uprights.


I was going to start to assemble the fuselage in my hangar this weekend with my son's help, but because of Hurricane Katrina making way towards the Alabama Gulf Coast, I decided to keep the parts at home until the hurricane passes.

Monday, August 22, 2005

Back in the air!

Went flying the MX on Saturday and Sunday this weekend. First time I've flown since July 4th weekend! I had neck surgery and have been recovering and they wouldn't let me fly! It felt really good to be back in the air. On Saturday, I flew to a field that I've been to before, the Fountain City Flyers radio control flying field in Autaugaville. It was about a 30 mile trip one-way. Very, very hazy, but plenty of visibility. When I arrived, only one person was there, Charles, who was working on the lawnmower tractor that they use to keep their field as smooth as a golf course fairway. We talked a bit before I left to come back. It was an uneventful flight and it was great to be back in the air.

On Sunday, my friend Don and I flew to his friends (and now mine too!) Chris' strip, about 10 miles away, Shown in the picture below. Chris' neighbor also has a strip that runs parallel, with just a hedgerow and a road that separates them. Chris just built a new hangar to store his Cub so he took us on the grand tour. Beautiful place.

Chris' field (upper side of the diagonal brown stripe) runs parallel to another strip with just a hedgerow that divides them.

Don's plane (right) and my MX.

It was so hot that we didn't stay long. We got back in the air just to stay cool, flying towards Don's house and his short field. That's Don's field, the little clearing with sandy patches on each end. It's about 700 feet long. If you look carefully, you can see a red speck in the upper right-hand corner. That's Don, buzzing his house.

A good shot of Don while we were flying.

Don flying low over one of our favorite low and slow spots!

Don just crossing over I-65 at tree-top level.

A cow trying to keep cool in our 95+ degree heat!

Total time for the weekend was about 3.5 hours and I flew about 120 miles. Work on the Phantom is continuing and I can't wait to fly her! I'll keep y'all posted.

Friday, August 19, 2005

New Phantom parts arrive!

When I got back from the Atlanta area on Thursday, three big boxes of parts were waiting for me inside the house. The boxes contained a new keel extension tube and dynafocal mount for my 503, a complete mechanical drum brake kit, big-man bars and a chrome-moly landing gear weldment along with the new left side cage tube and cage front. Most of the pieces were silver powder-coated and really looked good!

I was disappointed to see that my old right side cage tube was the wrong inside diameter for the front cage piece to fit into, as shown below.


I couldn't even start assembly yet because of the old tube not fitting, so I was really bummed, at least for a while. After studying the situation, and calling Erik at Phantom, I decided I might as well buy a new right-side cage tube because they are heavier-duty than my current tube and it will look better because it's powder-coated and would match. Hopefully it will arrive next week.

When I started to assemble the rear gear and brakes, I found that the new-thicker gear side plates were longer than the old plates that I was still supposed to use when assembling the brakes. This caused the hole mismatch shown below.


After speaking with Erik again, he said he would send new rear side plates to alleviate the problem. He didn't say whether or not he would charge me. I guess I'll wait and see. Those should be arriving with the other cage tube next week.

Another problem I found was that the brake drums weren't designed to be used with 4" plastic wheels, so I had to get a little creative. I did some layout and measuring on the drums and drilled out new holes to match the bolt holes on the plastic wheels. After a little bit of fitting and trimming, I was able to mount the drums on the wheels with the factory spacers.


The keel extension tube with motor mount and brackets was the only assembly that I was able to complete without any problem.


That powder paint looks really good, eh? Assembly can proceed when I get more parts!

Today I also received two Bing 54 carbs, sockets and a 90 degree exhaust elbow from Mark Smith at Tri-State Kite Sales in Mt. Vernon, Indiana. You might remember that I attended a fly-in at his airport at the end of June. I also heard that he's having another fly-in sometime in October. There are places to camp on-site and I'd recommend anyone who lives within 500 miles or so to try to attend for a few days! You won't regret it! For those who missed it the first time, the posts on his fly-in start here.

Tuesday, August 16, 2005

Flightstar II check ride

While accompanying my wife on her business trip to Atlanta, I decided to lookup a Phantom-type aircraft trainer. I found one in Cartersville, Georgia, about 40 miles north of where I was staying in Buckhead, Atlanta, Georgia. Ben Methvin was the owner/instructor of the beautiful blue and yellow Flightstar II SC. It was powered by a Rotax 582 bluehead, "E" gearbox and a 3-blade Powerfin prop.

After the proper preflight and insuring that all paperwork was in order, we started up the plane and taxied out for take-off. Ben allowed me to take-off without any corrections required. It was a very hot day and we just about at maximum gross weight, so the takeoff was long, and the climb-out was somewhat slow. Ben had a Vertical Speed Indicator (VSI) installed and it was registering about 500 feet per minute, which I suppose is where it should be considering the flight conditions.

We flew away from the airport to a suitable training location and Ben demonstrated power-on and power-off stalls so I knew what they would feel like. After that I did S-turns over a road, which were a bit steep for Ben's liking, but still accurate and adequate. We practiced a short-field approach for landing, which I killed badly by being way too high. Ben took over and slipped us in over the field and allowed me to feel the flare, the we turned around and I took back off in the direction from which we came.

We headed back to the airport, where we flew 3 or 4 landing patterns, with me landing on at least two of them. One landing was a bit hard, but I didn't break anything. The other landing was better, but still needed improvement. Ben told me that I flew very well and that if my Phantom flies like it should, I shouldn't have any problem transitioning from my Quicksilver. We taxied back to the hangar and chatted for a bit, before I went back to Buckhead.

Thanks again Ben, you were very laid-back and it was fun to fly with you. Visit Ben's web site here: Atlanta Ultralights Web Site

Thursday, August 11, 2005

Tail surfaces back together

This week I cleaned all the tail surface fabric, all the vertical stabilizer, horizontal stabilizer, rudder and elevator tubes, and replaced all broken tube connectors and saddles, the re-assembled everything using new aircraft-grade AN hardware. I did not replace all the hinge eye-bolts. They are just a bit rusty and discolored. I wire-brushed them to remove the rust and cleaned them up. They will have a coat of lithium grease on them when installed so I'm not concerned with their condition. They would have cost me about $6 each to replace and there are 14 of them just on the tail surfaces. They will be fine. Here is a shot of all the cleaned-up and re-assembled surfaces. This represents about 15 hours of work.


I'm supposed to be receiving a bunch of parts from Phantom Aeronautics next week. I will then start re-assembling the entire plane, minus wings. I'm not really quite sure about how I'll get it to the airport like that, so maybe I'll have to take it to the field in sub-assemblies. I'm anxious to start putting the fuse back together. I really am dreading the disassembly of the wings, not only for the labor involved, but the damage that I'm expecting to find. Maybe I'll get lucky and won't have to do anything more than cleaning, but that hasn't been the case thus far!

Wednesday, August 10, 2005

More cleaning and inspection!

Below is a shot of the cleanest of the horizontal stabilizer halves before I started cleaning. It's not just dust, it's dust, grease/oil, and algae.


Here's the elevator cover halves (red) and the vertical stab halves and the rudder covers after scrubbing and washing.


Here's the vertical stab halves after cleaning and assembling. The tubes are the horiz. stab halves after cleaning. The sleeves were loose in each of the bent tubes so I have to repair them before re-installing the covers.


Elevator and rudder tubes before cleaning and inspection.

Monday, August 08, 2005

Elongated holes in wing attach brackets

Below is a photo of the "worst case" elongated hole in the brackets that attach the wings to my Phantom. I'm contemplating what repair/replace method to use before assembly of the keel tube. Any suggestions would be carefully considered.

FOLLOW-UP Post: After speaking with the manufacturer, Erik Pederson of Phantom Aeronautics, he says that the brackets are designed with a slightly elongated hole so that when the wings are elevated to the proper dihederal with the upper wing wires, the bolts will not bend the attach brackets. So I guess mine are fine after all. Good Deal!


Worst case example of elongated bolt holes on wing attach brackets. Posted by Picasa

Sunday, August 07, 2005

Phantom cleaning and inspection continues

Because of my recent neck surgery, I can't do much real work on my newly acquired Phantom except clean the tubes and harware, and believe me...it needs it! I never knew so much grime could grow on aluminum! In the photos below, I show the kingpost tubes before I cleaned them, then after. This is the kind of stuff that needs to be really worked at with Scotch-brite pads. ALL tubes on this plane are like this. It's crazy. Anyway, I keep plugging away at it.


King post tubes before scrubbing. Posted by Picasa


King post tubes after scrubbing. Posted by Picasa